Introduction
Freeze-drying is one of the most powerful ways to preserve the life force of your herbs. Unlike traditional air-drying, freeze-drying locks in color, flavor, aroma, and delicate nutrients—keeping your harvest vibrant for months or even years. In this guide, we’ll walk you through how to freeze-dry herbs at home step-by-step, plus share why this method is a cornerstone of what we do at Eclectic Herb.
💡 Did you know
Freeze-drying can preserve up to 97% of an herb’s nutrients, compared to air-drying, which may result in a 40–60% loss of active compounds. It’s one of the most effective ways to keep your herbs as powerful and vibrant as nature intended.
Why Choose Freeze-Drying?
If you're serious about preserving the vitality of your herbs, freeze-drying is the gold standard. Unlike traditional drying methods that rely on heat or airflow, freeze-drying captures the herb in its most vibrant state—retaining the full spectrum of nutrients, colors, essential oils, and flavor. It's the closest you'll get to fresh-picked herbs, even months or years after harvest. Whether you're crafting teas, tinctures, or culinary blends, freeze-dried herbs deliver maximum potency with every use.
At Eclectic Herb, we’ve spent decades perfecting this method—because when it comes to plant medicine, every detail matters.

What is Freeze-Drying?
Freeze-drying (also called lyophilization) is a process that removes moisture from herbs using extremely low temperatures and vacuum pressure. Instead of using heat (which can degrade delicate compounds), freeze-drying sublimates the water directly from ice to vapor, preserving the herb’s structure and active constituents.
At Eclectic Herb, we use freeze-drying to capture herbs as close to their fresh state as possible. That’s why our products maintain their vibrant color, aroma, and potency.
Tools You’ll Need:
A home freeze dryer (like a Harvest Right machine)
Glass jars for storage
Labels and markers

Step-by-Step: How to Freeze-Dry Your Herbs
Step 1: Harvest Herbs at Peak Potency
- Pick herbs in the early morning when their essential oils are most concentrated.
- Choose vibrant, healthy plants without damage or pests.
- Herbs that freeze-dry well include kitchen herbs such as basil, mint, thyme, flowers like chamomile, st. John's wort, calendula.

Step 2: Gently Rinse and Pat Dry
- Rinse herbs very gently under fine cool water to remove dust or insects.
- Dry thoroughly and pat gently with a paper towel—excess moisture can interfere with freeze-drying.
- Be super gentle with delicate flowers

Step 3: Pre-Freeze (Optional)
- Placing your herbs in the freezer for a few hours before freeze-drying can help the process go faster.
- This step is optional, herbs will still freeze-dry straight from fresh.
Step 4: Load the Freeze Dryer
- Arrange herbs on trays in a single layer without overlapping.
- Select the appropriate setting for herbs or low-moisture foods.

💡 For Best Results
Leaves (like lemon balm, mint, nettles): Lay flat and avoid stacking. These dry relatively quickly.
Flowers (like chamomile, calendula): Handle gently to preserve shape and color. Spread out lightly.
Roots (like dandelion, burdock): Slice into thin pieces to reduce drying time and ensure even preservation.
Step 5: Let the Machine do its Magic
- The process can take 24–48 hours depending on the type and thickness of the herbs.
- You’ll know the herbs are ready when they feel crisp and brittle to the touch, and snap cleanly instead of bending. If in doubt, return them to the machine for a few extra hours.
Step 6: Store Properly
- Transfer freeze-dried herbs to airtight jars or sealed mylar bags immediately to prevent moisture from being reabsorbed.
- Label everything with the herb name and date, and keep your containers in a cool, dark location to maintain freshness.

Common Mistakes to Avoid:
Overlapping herbs on the tray (leads to uneven drying)
Starting with wet herbs
Using unclean storage containers
Skipping the label—always note your harvest date

Freeze-Drying vs. Traditional Air-Drying
When it comes to preserving the full power and beauty of your herbs, freeze-drying is in a league of its own. Here’s a side-by-side look at how these two methods compare when it comes to preserving the potency, vibrancy, and shelf life of your herbs:
Freeze-drying:
Superior Potency: Preserves up to 97% of nutrients and active compounds
Vibrant Appearance: Retains rich color, fresh flavor, and strong aroma
Delicate-Friendly: Ideal for flowers, roots, and leafy herbs
Extended Shelf Life: Lasts several years when stored properly
Fast Rehydration: Perfect for teas, tinctures, and remedies
High Integrity: Keeps herbs closest to their fresh-picked state
Worth the Investment: Requires a freeze-dryer but delivers unmatched results
Air-drying:
- Accessible: Requires no special equipment
- Traditional Method: Time-tested and simple
- Nutrient Loss: Can result in 40–60% degradation of active compounds
- Faded Appearance: Herbs often lose color, potency, and aroma
- Shorter Shelf Life: Typically lasts 1–2 years
- Environmental Dependence: Sensitive to humidity, weather, and drying space
- Higher Risk: Prone to mold and oxidation without perfect conditions
No Freeze-Dryer? No Problem.
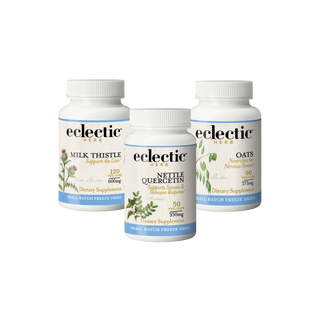
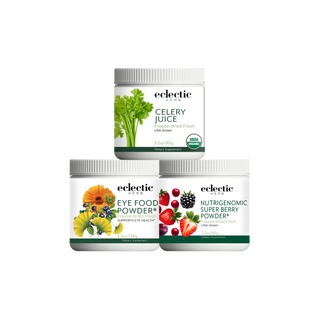
Freeze-drying at home can be a time and equipment investment. That’s why we do it for you. At Eclectic Herb, we freeze-dry herbs immediately after harvest to preserve maximum potency and freshness.
From Green Milky Oats to Elderberries, our freeze-dried herbs are wildcrafted, organic, and as close to fresh as it gets—no fillers, no shortcuts.
Explore our collection of freeze-dried herbs here.

